
Heads up: this post contains affiliate links. If you buy through one, we may earn a small commission at no extra cost to you. As an Amazon Associate, we earn from qualifying purchases.
⚡ Quick Answer: Set up in this order every time: walk the site first, position the rig, level side-to-side with blocks, chock the wheels, unhitch or stabilize, then utilities — surge protector and power (breaker off first), regulated water, sewer hose last with the black valve kept closed. Same order, every site, 20 minutes once practiced.
Watch a veteran RVer arrive at a site and it looks choreographed: fifteen quiet minutes, no raised voices, and then they are in a camp chair while the family two sites over is still arguing about which way the rig should face. The difference is not talent — it is a fixed routine, done in the same order every single time.
Here is that routine, step by step, including the order of operations that protects your rig and the two-minute choices that make the next three days more comfortable.
Step 1: Scout Before You Pull In
Park at the site entrance and walk it first. Find the flattest pad area, spot the utility pedestal, look up for low branches, and decide where the door side (and awning) should face — ideally toward your outdoor space and away from your neighbor’s sewer connection. Thirty seconds of scouting prevents the classic re-park-three-times shuffle.
Step 2: Position and Level
Pull in so your utility bay lands near the pedestal — hoses and cords are shorter than optimism suggests. Check side-to-side level first (phone app or bubble level): drive onto leveling blocks on the low side until level, because your RV fridge, tank sensors, and sleep all care. Front-to-back comes later via tongue jack or leveling jacks.
Step 3: Chock, Then Everything Else
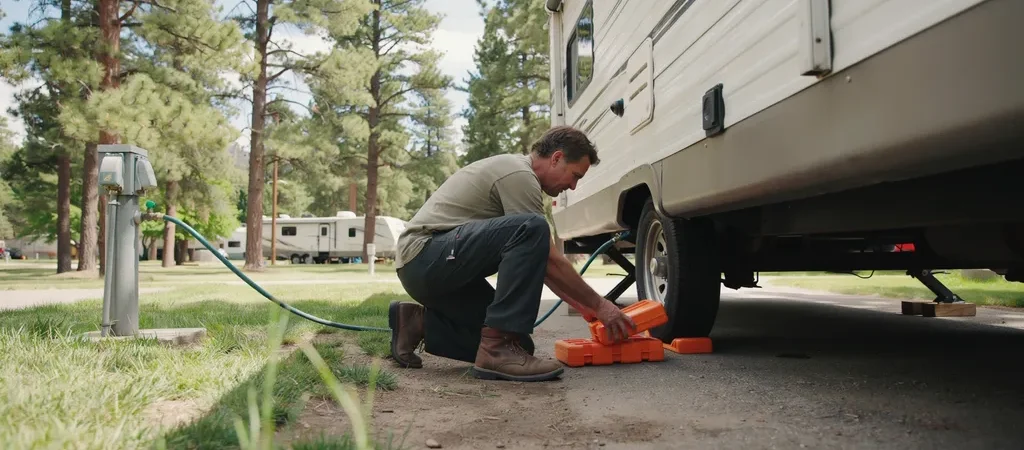
Set wheel chocks snug against the tires the moment the rig is positioned — before unhitching, before anyone climbs in. For trailers, chock both sides. This is the step people skip once and never skip again. Then unhitch (trailers) or set jacks, drop stabilizers until they are firm-not-lifting, and put the steps down.
Step 4: Power, the Safe Way
At the pedestal: breaker off, plug in your surge protector, plug the rig cord into it, then breaker on. The surge protector needs a few seconds to evaluate the pedestal — let it. If it flags an open ground or reversed polarity, you just saved every circuit board in the rig for the price of a gadget.
Step 5: Water and Sewer
Thread the pressure regulator onto the spigot, then filter, then your drinking-water hose to the city water inlet — hand-tight with the rubber washer seated. For sewer: gloves on, cap off, hose seated on the bayonet fitting, elbow into the campground port, supports under the run so it slopes downhill. Keep the black valve closed; gray can stay cracked or closed per your preference. Dump black only when two-thirds full, then gray to rinse the hose.
Step 6: Make It Camp
Awning out (locked, and in if wind kicks up or you leave for the day), outdoor rug at the steps, chairs and table under the awning, lights on the roller bar for the evening. Inside: fridge to gas or shore power confirmed, water heater on, slide-outs out with a glance for obstacles. Now sit down — you have earned the chair.
Breakdown: The Same List, Backwards
Inside secured and slides in; water heater off; tanks dumped (black, then gray), hoses rinsed and stowed; water disconnected, regulator packed; breaker off, cords stowed; stabilizers up, hitch connected with chains and breakaway cable, lights tested; steps up, awning locked; chocks pulled last; then one slow walkaround looking high (antenna, vents) and low (blocks, pads, anything left in the grass). Ten minutes, zero heartbreak.
Recommended Gear

- Sturdy & Robust: Our RV trailer jack blocks are built with a high-performance polymer and added anti-UV aging additives …
- Widely Used: The trailer jack block supports nearly any tongue jack foot, wheel jacks, 9” round 5th wheels hydraulic jac…
- Adjustable Height: Each RV jack block features a stackable design, allowing you to easily adjust the height according to…
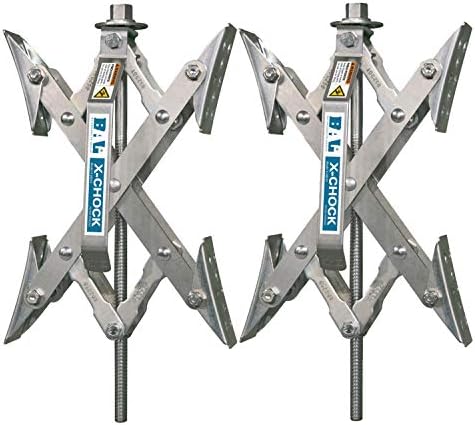
- American-Made Durability – Crafted in the USA from rust-resistant, zinc-coated steel for long-lasting performance in har…
- Stabilizes Your RV or Trailer – Reduces tire shift and sway by applying opposing force between tandem tires for better b…
- Compact Yet Powerful Fit – Adjusts from 1-3/8″ to 10″ to fit even the narrowest gaps between wheels on travel trailers, …

- High Quality: Made of brass, resistant to high pressure, safety and bursting. can be used for many years.
- Function: Adjust the pressure of the hose or RV plumbing and keep water pressure of 40 to 50 pounds. Easy to install and…
- Applicable Scenarios: Protect the water pipe system of the RVs, campers and travel trailers. Suitable with all 3/4″ hose…
Frequently Asked Questions
Should I level my RV before or after unhitching?
Side-to-side leveling with blocks happens before unhitching — you drive onto the blocks to get level. Chock immediately after positioning, then unhitch, then handle front-to-back level with the tongue jack. Leveling after unhitching means cranking a heavy trailer uphill by hand.
Why keep the black tank valve closed at a full-hookup site?
If the black valve stays open, liquids drain away and solids pile up into a legendary clog RVers call the poop pyramid. Keep it closed, let the tank reach about two-thirds full so there is enough liquid to carry solids out, then dump black followed by gray.
How long should RV setup take?
A practiced solo RVer sets up a full-hookup site in 15–25 minutes; first-timers should budget 45 relaxed minutes and arrive with daylight. The fixed order matters more than speed — speed shows up on its own by the third trip.

Written by Jake Miller · Camping & Gear
Jake grew up pitching tents before he could drive and has spent 15+ years camping, car-camping, and gear-testing his way across the country. If it can be cooked over a fire or packed into a trunk, he has an opinion on it.