
Heads up: this post contains affiliate links. If you buy through one, we may earn a small commission at no extra cost to you. As an Amazon Associate, we earn from qualifying purchases.
⚡ Quick Answer: A plain-English beginner’s guide to using a map and compass — compass parts, reading topo maps, declination, and how to take and follow a bearing.
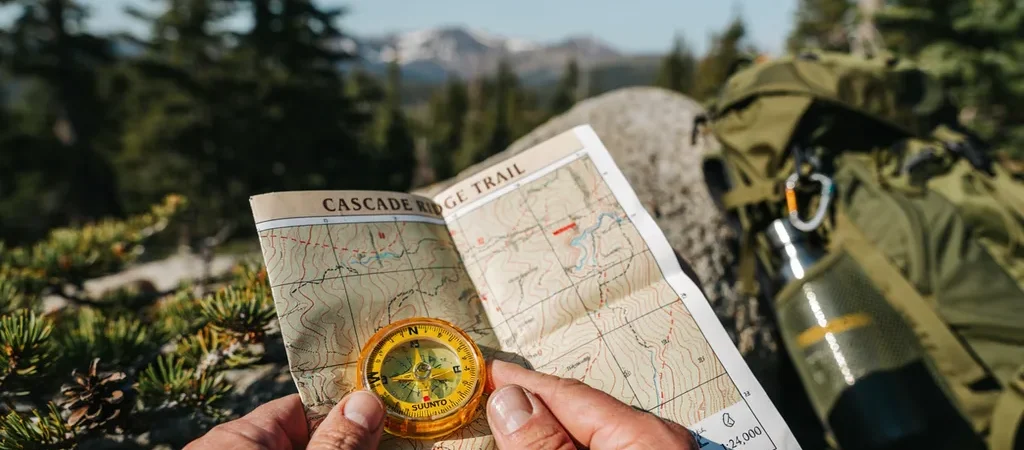
Your phone is a fantastic navigation tool — right up until it dies, loses signal, or drops on a rock. A map and compass never run out of battery, weigh almost nothing, and will get you home when the tech fails. Learning to use them is one of the most confidence-building skills in the outdoors, and the basics take an afternoon to grasp. Here is a plain-English primer.
Why Learn Map and Compass in the GPS Era
GPS tells you where you are; a map and compass teach you to understand the land — how ridges, valleys, and drainages connect. That understanding is what keeps you found in the first place. Think of your phone as the convenient primary and your map and compass as the backup that never lets you down. Anyone heading beyond well-marked trails should carry both and know how to use them.
The Parts of a Compass
A basic baseplate compass has a handful of parts worth knowing:
- Baseplate: the clear plastic base with a ruler edge you lay on the map.
- Magnetized needle: the red end always points to magnetic north.
- Rotating bezel (housing): the dial marked 0–360 degrees.
- Orienting arrow and lines: the outline inside the housing you line the needle up with.
- Direction-of-travel arrow: the arrow on the baseplate you point where you want to go.
Reading a Topographic Map
A topo map shows the shape of the land with contour lines — each line connects points of equal elevation. Lines close together mean steep terrain; lines spread far apart mean gentle ground. Check three things on any map: the scale (how distance on paper relates to the ground), the legend (what the symbols and colors mean), and which way is north (usually the top of the map).
The Three Norths and Declination
There are three norths: true north (the geographic pole), grid north (the map’s grid), and magnetic north (where your needle points). The angle between true and magnetic north is called declination, and it varies by location — sometimes by 15 degrees or more. For accurate navigation, adjust for your area’s declination, which is printed on good maps or easy to look up before you go. Many compasses let you set declination once so you can forget about it.
How to Take and Follow a Bearing
A bearing is simply a direction in degrees. To travel from where you are to a visible landmark or a point on the map:
- Lay the compass on the map with the long baseplate edge connecting your location to your destination.
- Rotate the bezel until its orienting lines line up with the map’s north–south grid lines, with bezel north pointing to map north.
- Lift the compass, hold it flat in front of you, and turn your whole body until the red needle sits inside the orienting arrow — hikers call it “putting red in the shed.”
- The direction-of-travel arrow now points your bearing. Pick a landmark along that line, walk to it, and repeat.
How to Orient Your Map
To match your map to the world around you, lay the compass flat on the map, then rotate the whole map until the needle points to map north. Now the terrain in front of you lines up with the map — that ridge on paper is the ridge you are looking at. It is the fastest way to make a map suddenly click.
The Gear to Start With
You do not need anything fancy — a quality baseplate compass and a waterproof topographic map of your area will do. A more rugged sighting compass adds precision once you are comfortable with the basics:

- Orienteering Compass with Global Needle & Sighting Mirror – Accurate Navigation Worldwide. Designed with a global needle…
- Adjustable Declination & Built-In Clinometer. Adjust declination to match your geographic location for more accurate map…
- Easy-to-Read in Any Condition – LED Light & Luminous Dial for Day or Night. Built-in LED light illuminates the compass f…
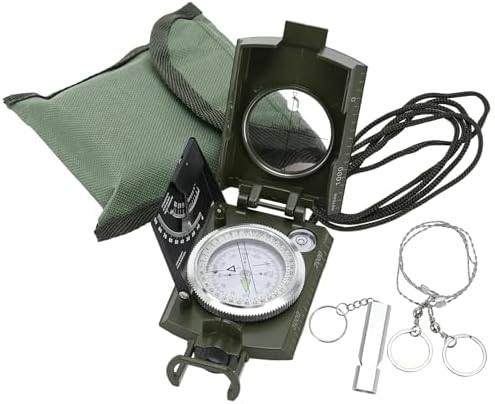
- Military grade accuracy: Backpacking compass high sensitivity magnetic needle with built-in bubble level improves accura…
- All-terrain durability: Compass hiking waterproof and shockproof design, zinc alloy shell + scratch-resistant mirror, no…
- 360° Rotating Dial: Orienteering compass with fluorescent scale indication, night visibility, easy planning of azimuths,…

Practice Close to Home
Learn these skills in a park or your neighborhood before you need them in the backcountry. Take a bearing to a distant tree and walk to it; orient your map at a trail junction. Pair the habit with a solid day-hike checklist and our outdoor safety tips, and you will navigate with confidence on your next trip to the national parks.
Frequently Asked Questions
How do you use a compass with a map for beginners?
Set the map flat, align its north with the compass needle (adjusting for declination), and orient yourself to the terrain. To travel, set a bearing from your position to your destination on the map, then follow the direction-of-travel arrow, keeping the needle boxed.
What is declination and why does it matter?
It is the angle between magnetic north (where the needle points) and true north (how maps are drawn) — up to 15-plus degrees in parts of the US. Uncorrected, a 10-degree error puts you 900 feet off course per mile walked.
Can I rely on my phone instead of a compass?
Use the phone as your primary tool if you like, but carry the map and compass anyway. Cold drains batteries shockingly fast, screens break, and canyons block GPS. The analog kit weighs three ounces and never fails all at once.

Written by Sarah Brooks · Hiking & National Parks
Sarah fell in love with the outdoors on a childhood trip to the Smokies and has logged thousands of trail miles across 30+ national parks since. She is happiest above treeline with a map in hand.