
Heads up: this post contains affiliate links. If you buy through them, WildMorrow may earn a small commission at no extra cost to you. As an Amazon Associate, we earn from qualifying purchases.
⚡ Quick Answer: How to choose a backpack: sizing by trip length (liters explained), why fit and hip-belt support matter most, matching features to daypack vs backpacking use, and organizing what is inside.
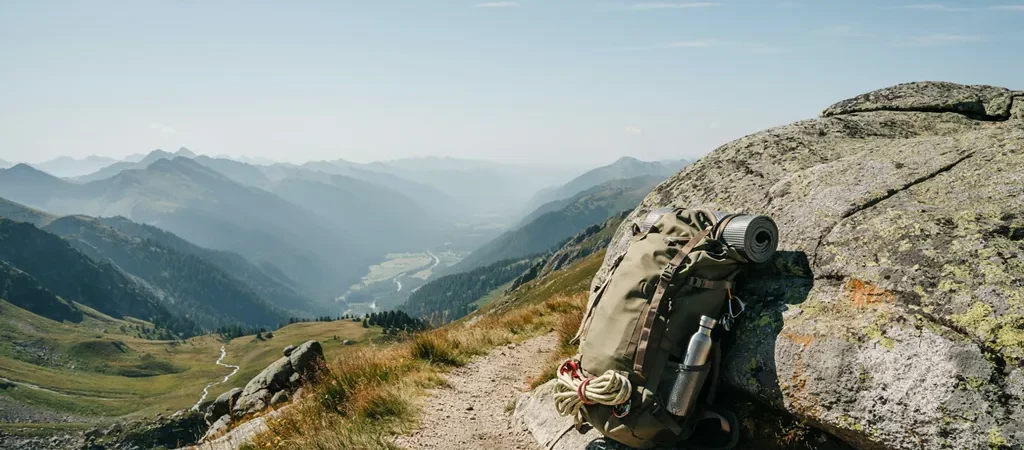
A backpack is the one piece of gear you wear the entire time you’re outdoors, so a bad one turns a great trip into a shoulder-aching slog. But the wall of packs (all those liters and frames and straps) is genuinely confusing. Relax: choosing a backpack comes down to matching size and fit to how you’ll use it. Here’s how to choose the right pack, whether it’s for a two-hour hike or a week in the wild.
Step 1: Size it by trip length (liters explained)
Pack capacity is measured in liters, and the right number depends on your trip. Day hikes: 15 to 30 liters carries water, snacks, and layers. Overnight to weekend backpacking: 40 to 55 liters. Multi-day (3+ nights): 55 to 70+ liters. The classic beginner mistake is buying too big “to be safe,” then overpacking to fill it. Buy for your actual typical trip, not your fantasy expedition.
Step 2: Fit is everything (it rides on your hips)
Here’s the secret: a loaded backpack should carry about 80 percent of its weight on your hips, not your shoulders. That means torso length matters more than your height, get measured (most packs come in sizes or adjust), and make sure the hip belt wraps your hip bones, not your waist. A well-fitted 40-pound pack feels lighter than a poorly fitted 25-pound one. Load it up in the store and walk around before buying.

- Air Director Back Panel: Channels airflow to keep you cool during intense rides
- Removable Stability Belt: Adds support and can be removed for a lighter fit
- Ventilated Harness: Lightweight and breathable for all-day comfort

- bluesign® APPROVED 100D ripstop nylon
- Imported
- Contains an internal divider that creates two compartments, separating clean clothes from dirty ones
Step 3: Match features to your use
Daypacks want a comfy back panel, a hydration sleeve, and easy-access pockets. Backpacking packs need a supportive frame, a real hip belt, and smart organization. Ignore the marketing bells and whistles; comfort, fit, and a few well-placed pockets beat a gadget-covered pack every time.
Step 4: Organize what’s inside
Even the best pack is miserable if it’s a chaotic stuff-sack of gear. Packing cubes or stuff sacks turn the black hole into a system: clothes in one, kitchen in another, sleep gear in a third. You’ll find things instantly and pack faster. It’s the cheapest upgrade to backpack happiness.
Load it and go
Heavy items go close to your back and centered; light bulky things (sleeping bag) at the bottom; frequently-needed items up top and in the hip-belt pockets. Adjust the straps in order (hip belt first, then shoulders, then load lifters) and you’ll walk taller and hurt less. Then hit the trail with our day hike checklist or first backpacking trip guide.
Frequently Asked Questions
What size backpack do I need?
Day hikes: 20–30 liters. Weekend backpacking: 40–50. Week-long or winter trips: 55–70. Buy the pack last, after the rest of your gear exists — the right size is the one your actual equipment fills without empty space or overflow.
How should a backpack fit?
Torso length, not height, determines size: the hip belt rides on the iliac crest carrying 80 percent of the weight, shoulder straps wrap without gaps, and load lifters angle at 45 degrees. A store fitting with weight in the pack is worth the trip.
What features actually matter in a backpack?
A supportive hip belt, decent back ventilation, side water-bottle access, and one or two external stash pockets. Skip the feature arms race — every extra zipper and strap is weight you carry uphill forever.
Written by Sarah Brooks · Hiking & National Parks
Sarah fell in love with the outdoors on a childhood trip to the Smokies and has logged thousands of trail miles across 30+ national parks since. She is happiest above treeline with a map in hand.