Heads up: this post contains affiliate links. If you buy through them, WildMorrow may earn a small commission at no extra cost to you. As an Amazon Associate, we earn from qualifying purchases.
⚡ Quick Answer: How to set up a campsite step by step: choosing a level spot, pitching the tent first, organizing camp into zones, getting set before dark, and food storage, so your first evening is relaxed.
You’ve arrived at your campsite, the light is fading, and everyone’s looking at you. Setting up camp can feel like chaos, or it can be a smooth 20-minute routine that ends with dinner cooking and everyone relaxed. The difference is having a plan and doing things in the right order. Here’s how to set up a campsite step by step, so your first evening is spent enjoying camp, not fighting it.
Step 1: Pick the right spot
Before you unpack a thing, choose your site wisely. Look for flat, level ground (you’ll feel any slope at 3 a.m.), clear of rocks and roots, and slightly elevated so water drains away in rain. Avoid the very bottom of a hill (cold air and water pool there) and check overhead for dead branches (“widowmakers”). Position the tent door away from the wind and toward the morning view if you can.
Step 2: Pitch the tent first, always
Set up your shelter while you still have light and energy. Lay down a ground tarp or footprint (folded so no edge sticks out to funnel rain underneath), stake out the tent taut, and get the rainfly on even if the sky is clear, weather changes fast. A tent mallet drives stakes into hard ground far easier than stomping or rocks, and the hook end pulls them at the end of the trip.

- Portable and easy to pack: Designed to fit seamlessly into your camping or hiking gear without adding unnecessary weight…
- Rugged plastic construction: Built tough to drive tent pegs and stakes securely into a variety of ground types, ensuring…
- Comfortable grip for ease of use: Features an ergonomic handle that ensures a secure and strain-free experience during e…
Step 3: Set up the “zones”
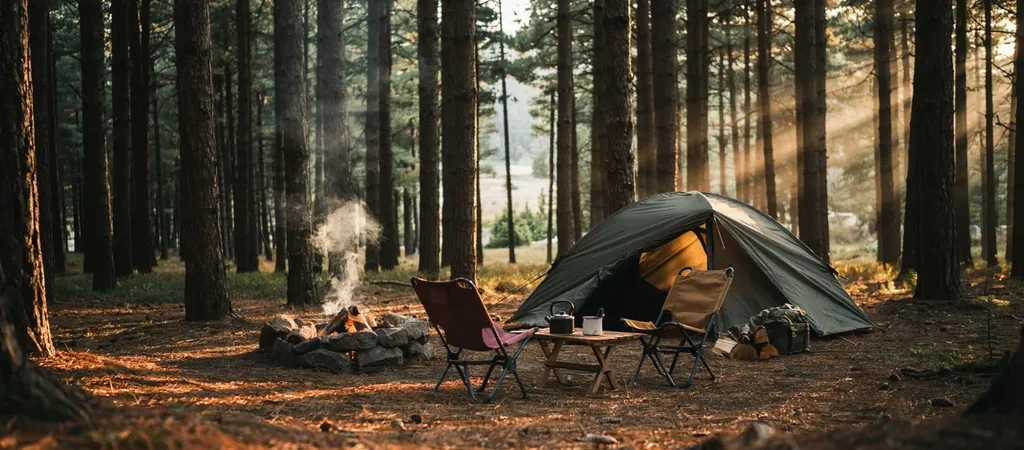
A good campsite has zones. The sleeping zone (tent) sits away from the fire and cooking to keep food smells from your beds. The kitchen zone (stove, table, water, food storage) goes downwind of the tent. The fire zone (existing ring, if fires are allowed) stays clear of overhanging branches and your tent. And the hangout zone (chairs) rings the fire. Thinking in zones keeps camp organized and safe.
Step 4: Get organized before dark
Lay out your sleeping bags and pads inside the tent now, so you’re not fumbling later. Set up lighting (a lantern for the table, headlamps within reach), stage your kitchen, and gather firewood while you can still see. Store food and scented items securely, in a bear canister, cooler in the car, or a proper hang, never in the tent. Our bear safety guide covers food storage in detail.
Step 5: Then relax
With the tent up, beds made, kitchen ready, and firewood gathered, your work is done and the evening is yours. Fifteen focused minutes of setup buys hours of relaxation. Speed it up further with our camping hacks, plan the whole trip with our planning checklist, and gear up from the best camping gear list.
Frequently Asked Questions
What is the first thing to do when you arrive at a campsite?
Walk the site before unpacking: find the flattest tent spot, note water drainage, check overhead for dead limbs, and locate the fire ring’s wind exposure. Five minutes of scouting prevents the classic 2am regrets.
How should a campsite be organized?
Think in zones: tent upwind and uphill of the fire, kitchen downwind at least 10 feet from the tent, gear staging under a tarp, and food storage in the vehicle or bear box — never in the tent. Paths between zones stay clear for night trips.
Which direction should a tent face?
Door away from the prevailing wind for warmth and easy entry, and toward the east if you want gentle sunrise wake-ups. Priorities one and two, though, are flat ground and drainage — direction is the tiebreaker.
Written by Jake Miller · Camping & Gear
Jake grew up pitching tents before he could drive and has spent 15+ years camping, car-camping, and gear-testing his way across the country. If it can be cooked over a fire or packed into a trunk, he has an opinion on it.