
Heads up: this post contains affiliate links. If you buy through one, we may earn a small commission at no extra cost to you. As an Amazon Associate, we earn from qualifying purchases.
⚡ Quick Answer: Winter hiking is summer hiking with three changes: layers you adjust constantly (never hike sweaty), traction and warmth gear (microspikes, insulated boots, real gloves), and shorter margins (daylight ends by 5, cold punishes mistakes). Start with familiar trails at half your summer distance and turn around early — the summit is optional, warm fingers are not.
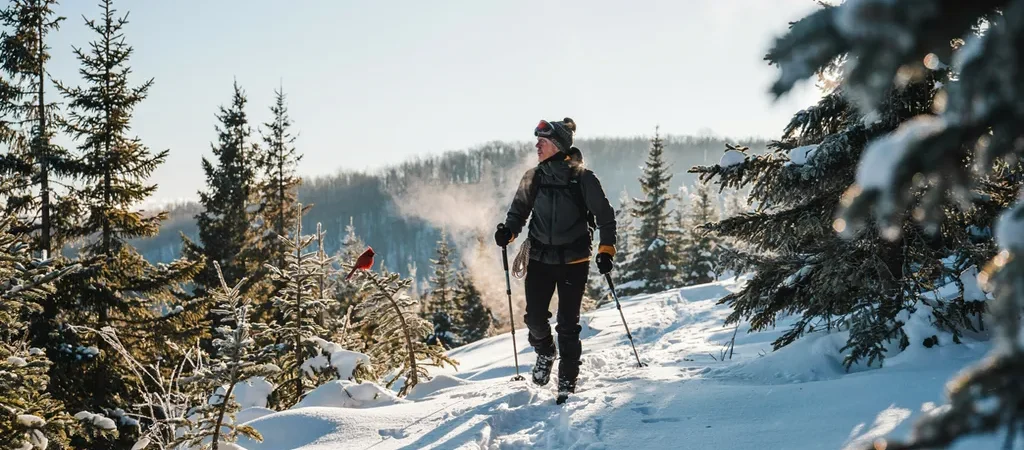
The crowds go home in November, and the trails transform — silent woods, crisp air, views through leafless trees, and no bugs within a hundred miles. Winter hiking is arguably the best hiking, and it only asks that you respect the season. Here’s how beginners do it safely.
The Layer Game (Rule #1: Never Sweat)
- Base layer: merino or synthetic against skin — never cotton (see our layering guide).
- Mid layer: fleece or light puffy for insulation.
- Shell: wind is the thief — a windproof shell doubles the warmth of everything under it.
- The discipline: strip a layer BEFORE the climb makes you sweat, add one BEFORE the summit break chills you. Wet base layers are how winter hikes go wrong.
- Extremities: insulated gloves plus thin liners (for phone/snack stops), warm hat, buff for the face, and wool socks with room to wiggle toes.
Feet: Boots + Traction
Insulated waterproof boots keep toes alive; gaiters keep snow out; and microspikes handle the packed ice that covers every popular winter trail. Deep fresh snow calls for snowshoes instead. Poles with snow baskets complete the stability kit.
Winter Margins Are Thinner
- Daylight math: sunset at 4:30–5:00 means a 9 am start and a hard turnaround time — set an alarm and honor it.
- Halve your summer distance at first; snow travel costs roughly double the energy per mile.
- Eat and drink more than feels natural: cold suppresses thirst while burning extra calories. Insulate your water (bottles upside-down in the pack — they freeze top-first) and pack candy-bar morale.
- Tell someone the plan. Winter rescues take longer; the basics from our lost-hiker guide and hypothermia guide are required winter reading.
The Winter Day Pack Additions
- Headlamp (dusk is early and sudden), spare gloves and socks in a dry bag, insulated sit pad for breaks.
- Emergency bivy + fire kit — the one-pound kit earns its keep most in winter.
- Hot drink in a thermos: morale in liquid form at the halfway point.
- A merino base layer is the winter foundation:

Start with a familiar local trail on a bluebird day after fresh snow — low commitment, maximum magic. Within a season you’ll be planning around winter, not away from it. The snowshoe trails list is the natural next step.
Frequently Asked Questions
How do you start winter hiking?
Begin with short, familiar, well-marked trails in mild winter conditions, and build up as you gain experience. Dress in warm layers, carry traction devices for ice, and pack extra food, water, and an emergency layer. Start early, since winter days are short, and always check the forecast first.
What should you wear winter hiking?
Layer with a moisture-wicking base, an insulating mid layer, and a weatherproof shell, plus a warm hat, gloves, and wool socks. Avoid cotton, which stays wet and chills you. Add traction devices like microspikes for ice, gaiters for deep snow, and carry spare insulation in case you stop moving.
Is winter hiking safe for beginners?
Yes, with preparation. Start small, hike with others, and know the signs of hypothermia and frostbite. Carry the ten essentials plus winter extras, tell someone your plan, and turn back if conditions worsen. Building experience gradually on easy trails is the safe way to start.

Written by Sarah Brooks · Hiking & National Parks
Sarah fell in love with the outdoors on a childhood trip to the Smokies and has logged thousands of trail miles across 30+ national parks since. She is happiest above treeline with a map in hand.